What Is A Whirlybird & How Does It Work?
Table of Contents
- Understanding What a Whirlybird Is & Why It Matters for Tiled Roofs
- Exploring the Ventilation Process: How Whirlybirds Work Naturally
- Clip-By-Clip: The Whirlybird Installation on Tiled Roofs
- Spotting the Tiled Roof Signs That Say “You Need a Whirlybird”
- Safety & Quality Considerations for Installing on Tiles
- Comparing Do-It-Yourself vs Professional Whirlybird Installation
- Maintenance Tips Post Installation: Keeping Your Whirlybird at Peak Performance
- Why Choose a Specialist Tiled Roof Installer for Whirlybirds on the Gold Coast
- Book Expert Whirlybird Installation Near You Today
When temperatures rise and your tiled roof traps heat like an oven, even the strongest ceiling fan won’t help. Many homeowners notice their living spaces becoming increasingly uncomfortable in summer—especially upstairs or under the eaves. That’s often because their homes are missing a crucial ventilation component: a whirlybird. These wind-powered turbines are designed to expel hot air from your roof cavity, improving comfort and airflow without drawing power.
In this blog, we’ll unpack exactly what a whirlybird is, how it works, and why professional installation—specifically on tiled roofs—is the key to lasting performance.
Understanding What a Whirlybird Is & Why It Matters for Tiled Roofs
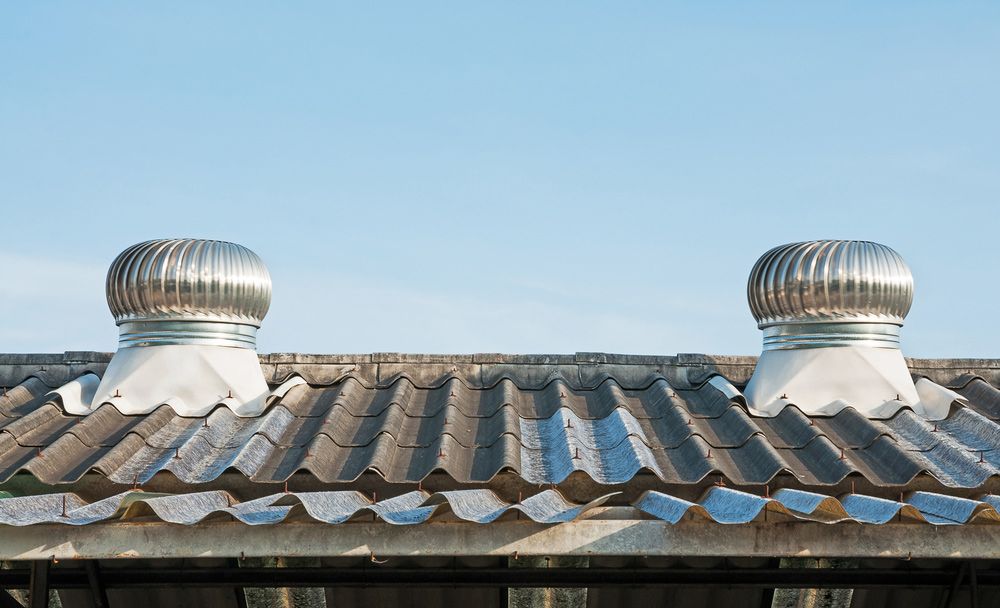
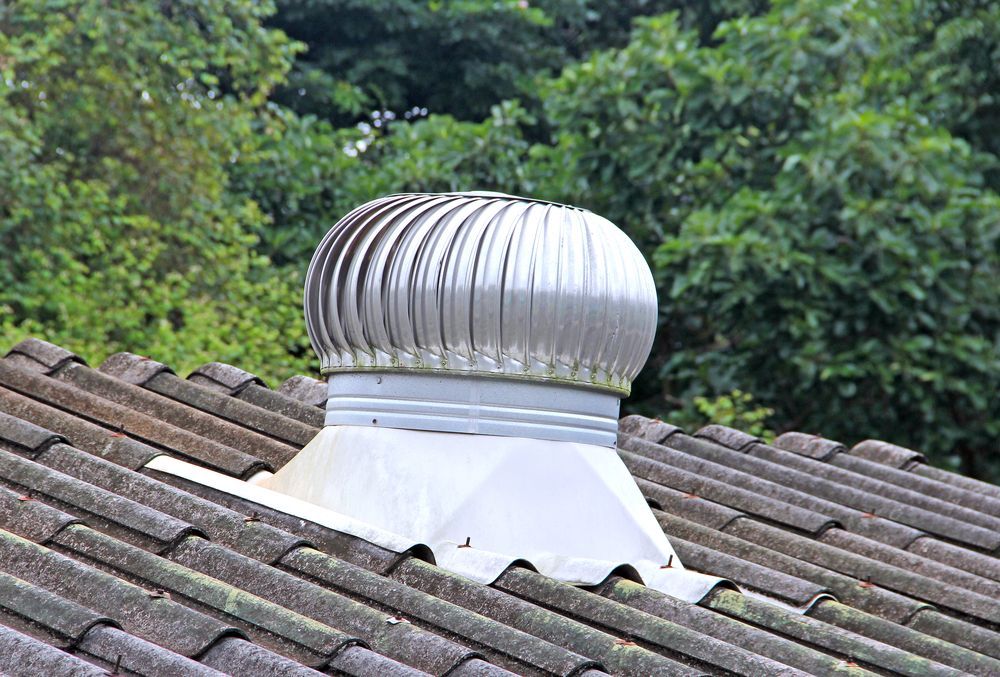
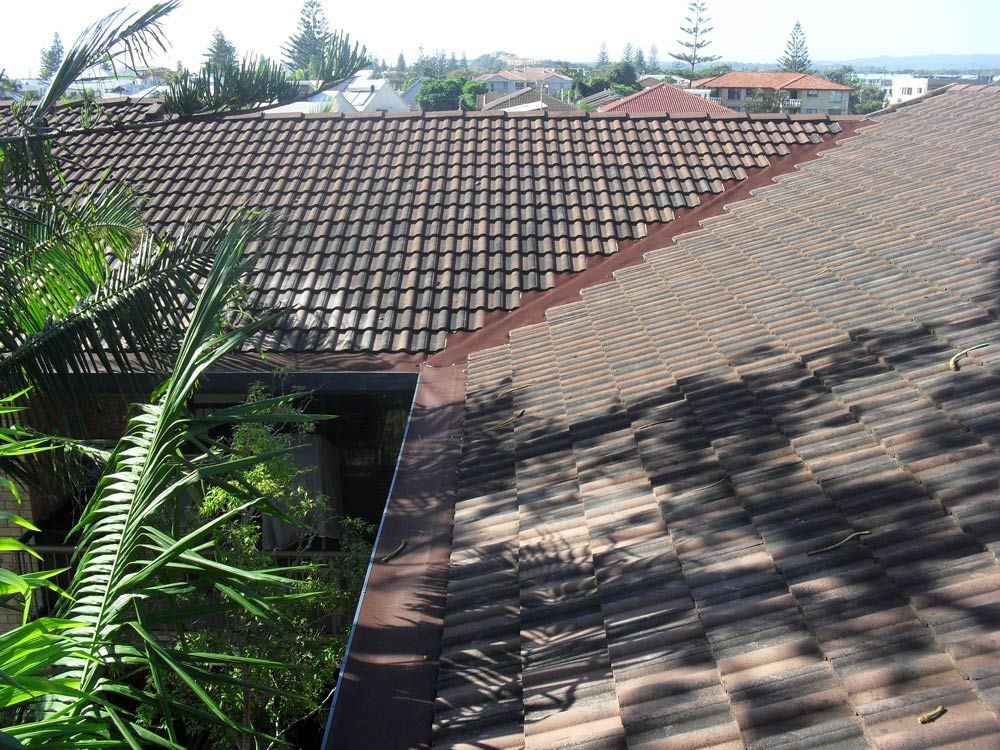
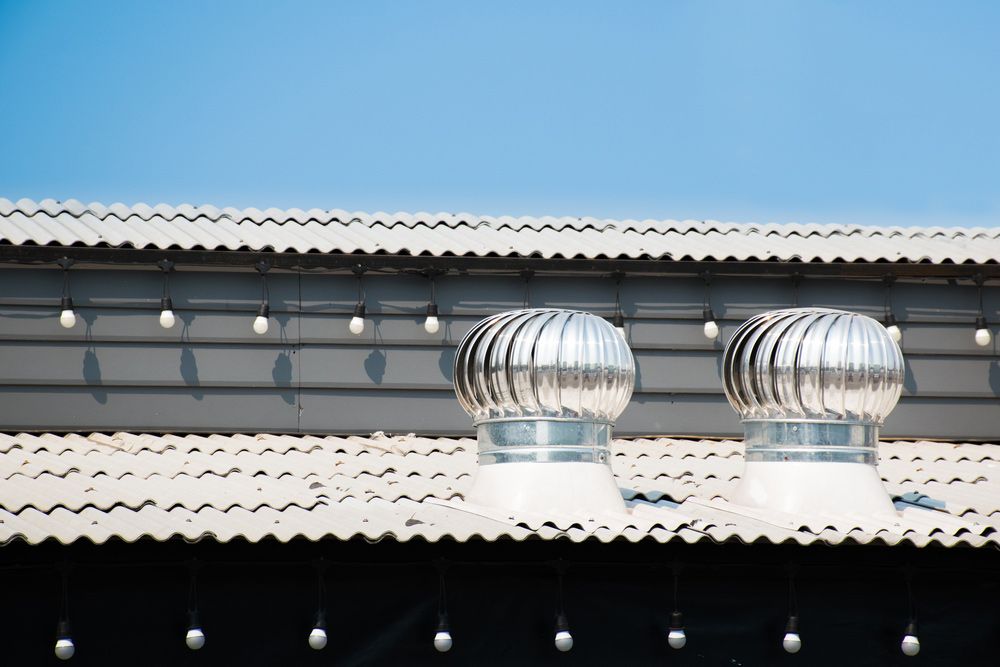
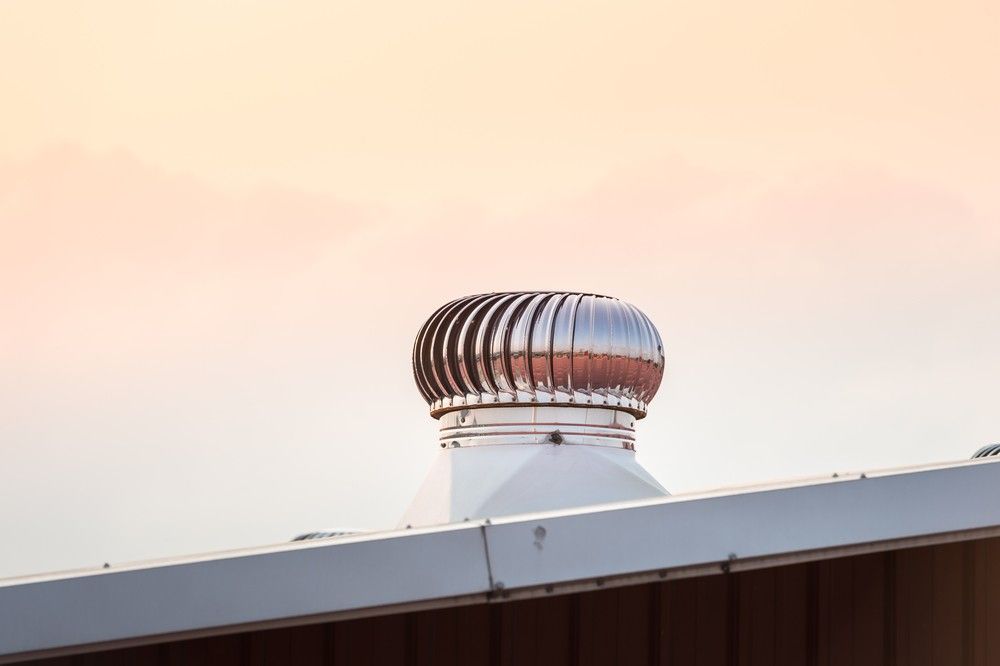
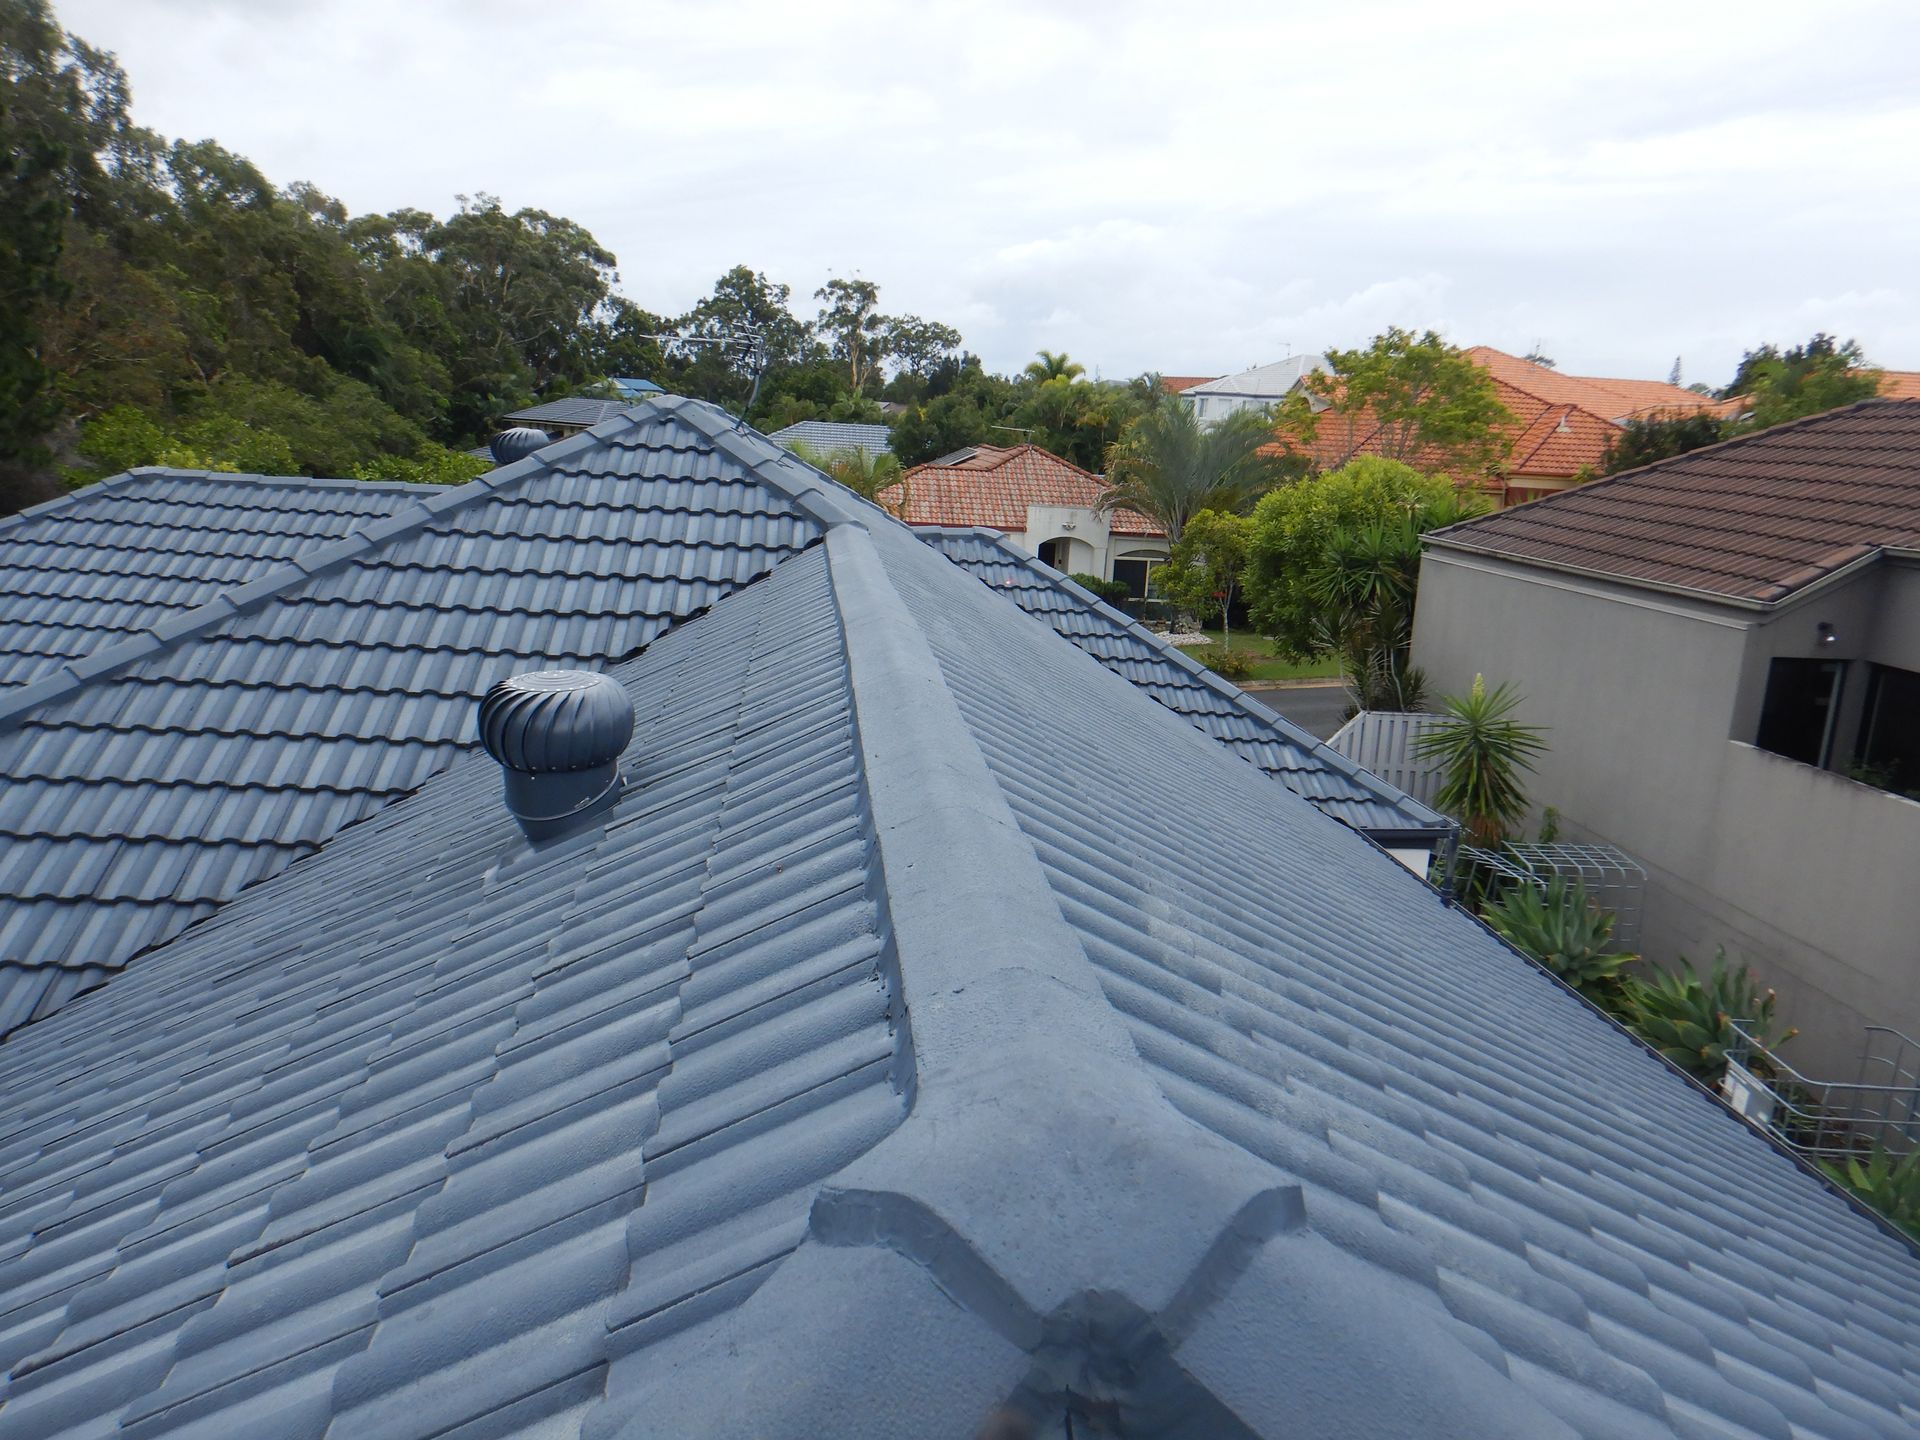
Whirlybirds, or turbine ventilators, are cylindrical vents mounted to rooftops that spin when exposed to wind or rising heat. They remove hot, stale air trapped beneath your roof tiles and replace it with cooler, ambient air. This process is especially beneficial on tiled roofs as air can otherwise become trapped under the ridges and insulation, creating a heat pocket.
Installing a whirlybird on a tiled roof can help:
- Reduce roof-space temperatures, especially in summer.
- Minimise moisture buildup that can cause mould or timber decay.
- Extend the lifespan of ceiling insulation by keeping it dry.
- Alleviate pressure on air conditioning systems, leading to better energy efficiency.
Exploring the Ventilation Process: How Whirlybirds Work Naturally
Whirlybirds don’t need any electrical connection—they rely purely on natural ventilation principles. When wind hits the turbine, the vanes rotate, creating a suction force that pulls air out of the roof cavity. Even on calm days, rising heat from within the home provides enough pressure for passive air movement through the whirlybird.
Their function depends on:
- Wind energy driving the turbine’s rotation.
- Thermal uplift as hot air rises naturally through the structure.
- A venturi effect created by the turbine spinning, which increases the airflow rate.
- Continuous air exchange that keeps the roof cavity cooler and drier.
This makes them particularly suited to homes in warm, humid or breezy environments—common along coastal regions.
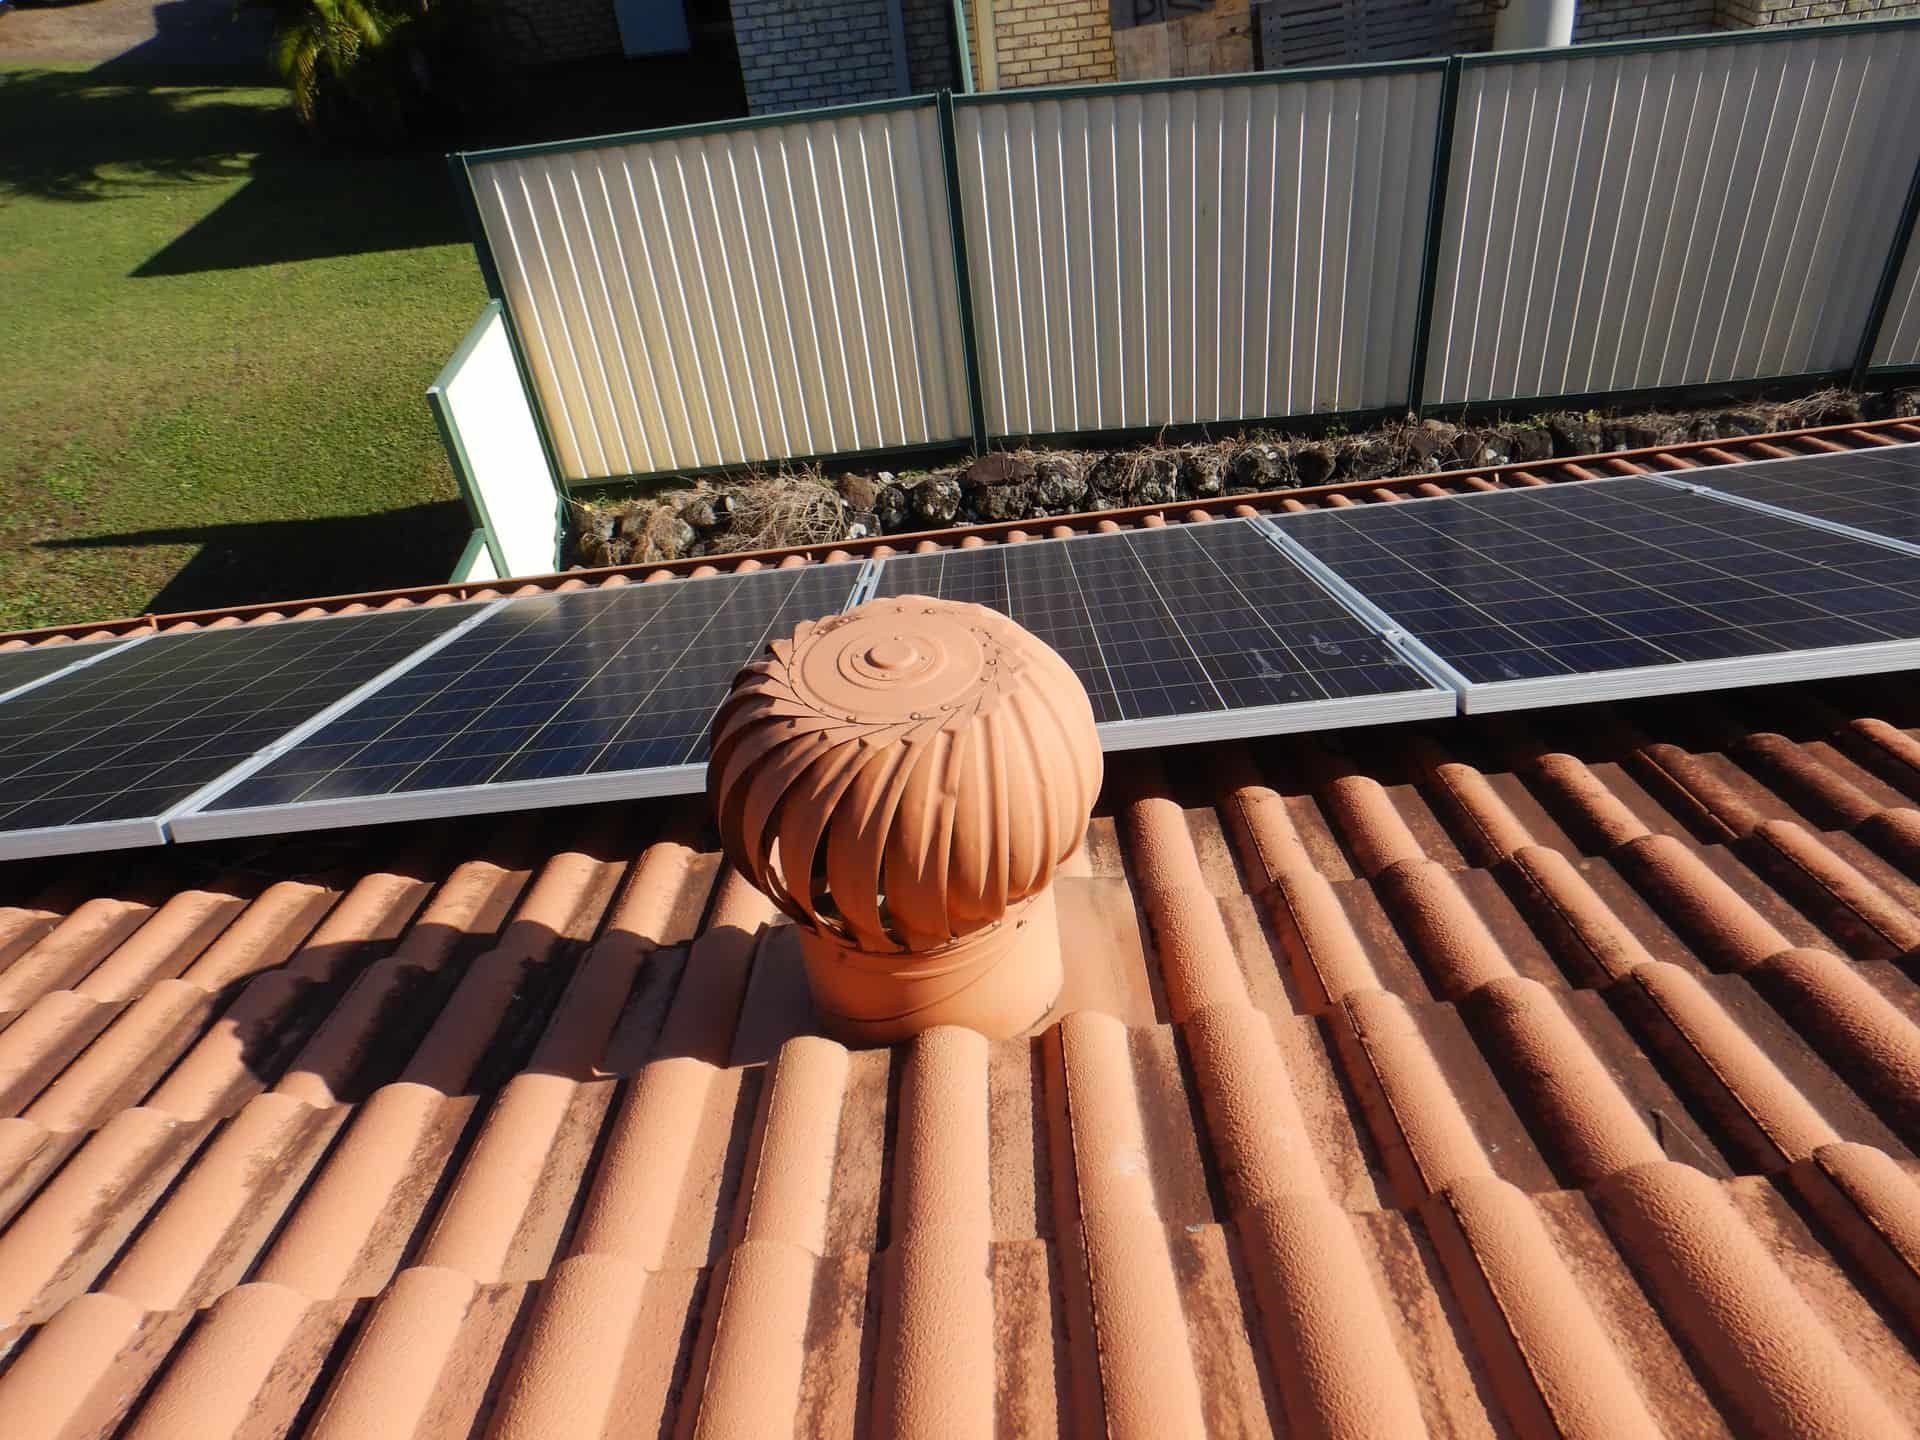
Clip-By-Clip: The Whirlybird Installation on Tiled Roofs
Unlike metal roofing, tiled roofs present unique challenges only experienced tilers should manage. The installation must ensure a leak-free fit while maintaining the tile’s integrity. The process starts with identifying the optimal turbine location, typically at the highest point of the roof to maximise airflow efficiency.
Steps include:
- Inspecting and selecting a secure position between the tile rows.
- Carefully lifting tiles to avoid breakage.
- Creating a circular cut-out in the underlay or sarking.
- Installing tile-compatible flashing and sealing material beneath the turbine.
- Anchoring the whirlybird securely and reseating the surrounding tiles.
When done properly, the result is a discrete, functional installation that complements your roofline and resists wind-driven rain intrusion.
Spotting the Tiled Roof Signs That Say “You Need a Whirlybird”
A roof that overheats doesn’t always show signs until internal comfort suffers or energy bills climb. If you’ve noticed issues that suggest your roof cavity isn’t breathing properly, a whirlybird may be the missing link in your home’s ventilation system.
Tell-tale signs include:
- Your home feels significantly hotter upstairs or near the ceiling.
- Ceiling insulation appears damp or discoloured from moisture.
- You notice a musty odour in your roof space.
- Mould patches appear on the upper corners of rooms or in the roof cavity.
- Your energy bills rise in summer due to cooling inefficiencies.
Safety & Quality Considerations for Installing on Tiles
Tiled roofs are not for general handymen. They are heavy, brittle, and prone to cracking if mishandled. Whirlybird installation must be completed without disturbing tile alignment or compromising waterproofing. That’s where roofing professionals with tiling expertise come in.
Why a tiler should install your whirlybird:
- They understand how to lift and reseat tiles without causing damage.
- They use tile-specific flashings and sealants to avoid water leaks.
- They align the turbine with the tile grooves to maintain visual consistency.
- They ensure compliance with building standards for high-wind zones.
Comparing Do-It-Yourself vs Professional Whirlybird Installation
DIY installation may look appealing, especially with hardware-store kits available. But on a tiled roof, it’s easy to make costly errors in terms of damage and functionality. Misaligning flashing, applying the wrong adhesives or stepping on the wrong tile can lead to long-term roofing problems.
Professional tilers ensure:
- Safe access and walking techniques on tiled surfaces.
- Clean, symmetrical installation with no cracks or movement.
- Integration with existing sarking and underlay for full weatherproofing.
- Structural anchoring to resist strong coastal winds.
Ultimately, the security and durability of a professionally installed whirlybird outweigh the small savings of doing it yourself.
Maintenance Tips Post Installation: Keeping Your Whirlybird at Peak Performance
Once installed, a whirlybird requires very little attention. That said, occasional checks help ensure continued performance—especially in storm-prone areas where leaves or debris may lodge in the turbine. Annual maintenance is recommended during your general roof inspection.
Tips for keeping your turbine spinning:
- Look for blockages or cobwebs inside the turbine head.
- Listen for squeaking or scraping sounds, which may signal a bent vane.
- Make sure flashing remains sealed tightly to the tiles.
- Wipe the vent occasionally if corrosion or salt buildup appears.
- During roof inspections, confirm the turbine still spins freely.
Why Choose a Specialist Tiled Roof Installer for Whirlybirds on the Gold Coast
The coastal climate brings specific roofing challenges: high humidity, salt air, thermal extremes, and occasional cyclonic winds. That’s why working with a local roofer who understands these pressures is crucial. Unlike general roofers, tile specialists tailor their work to suit the movement and durability of tile materials.
Benefits of engaging a tile expert include:
- Precision cutting and resealing around tile contours.
- Knowledge of compatible sealants that don’t react with cement or terracotta.
- Risk-free access methods that avoid cracked or misplaced tiles.
- Better integration of the turbine into the existing ventilation layout.
This attention to detail ensures that your whirlybird functions effectively and complements the aesthetic and longevity of your roof.
Book Expert Whirlybird Installation Near You Today
At Gold Coast Roof Repairs Pty Ltd, we focus on efficient Whirlybird Installation on the Gold Coast—specifically for tiled roofs. We don’t handle downpipes or metal roofing, but bring expert care to every tile we lift. Our installations are tailored to local weather conditions, and our Whirlybird fittings are fully sealed, aligned, and secure. If you’re dealing with a hot or stuffy roof cavity, don’t wait. Get in touch via our contact page or give us a call to book your service.